Create Access policies for a self-hosted application
2 min read
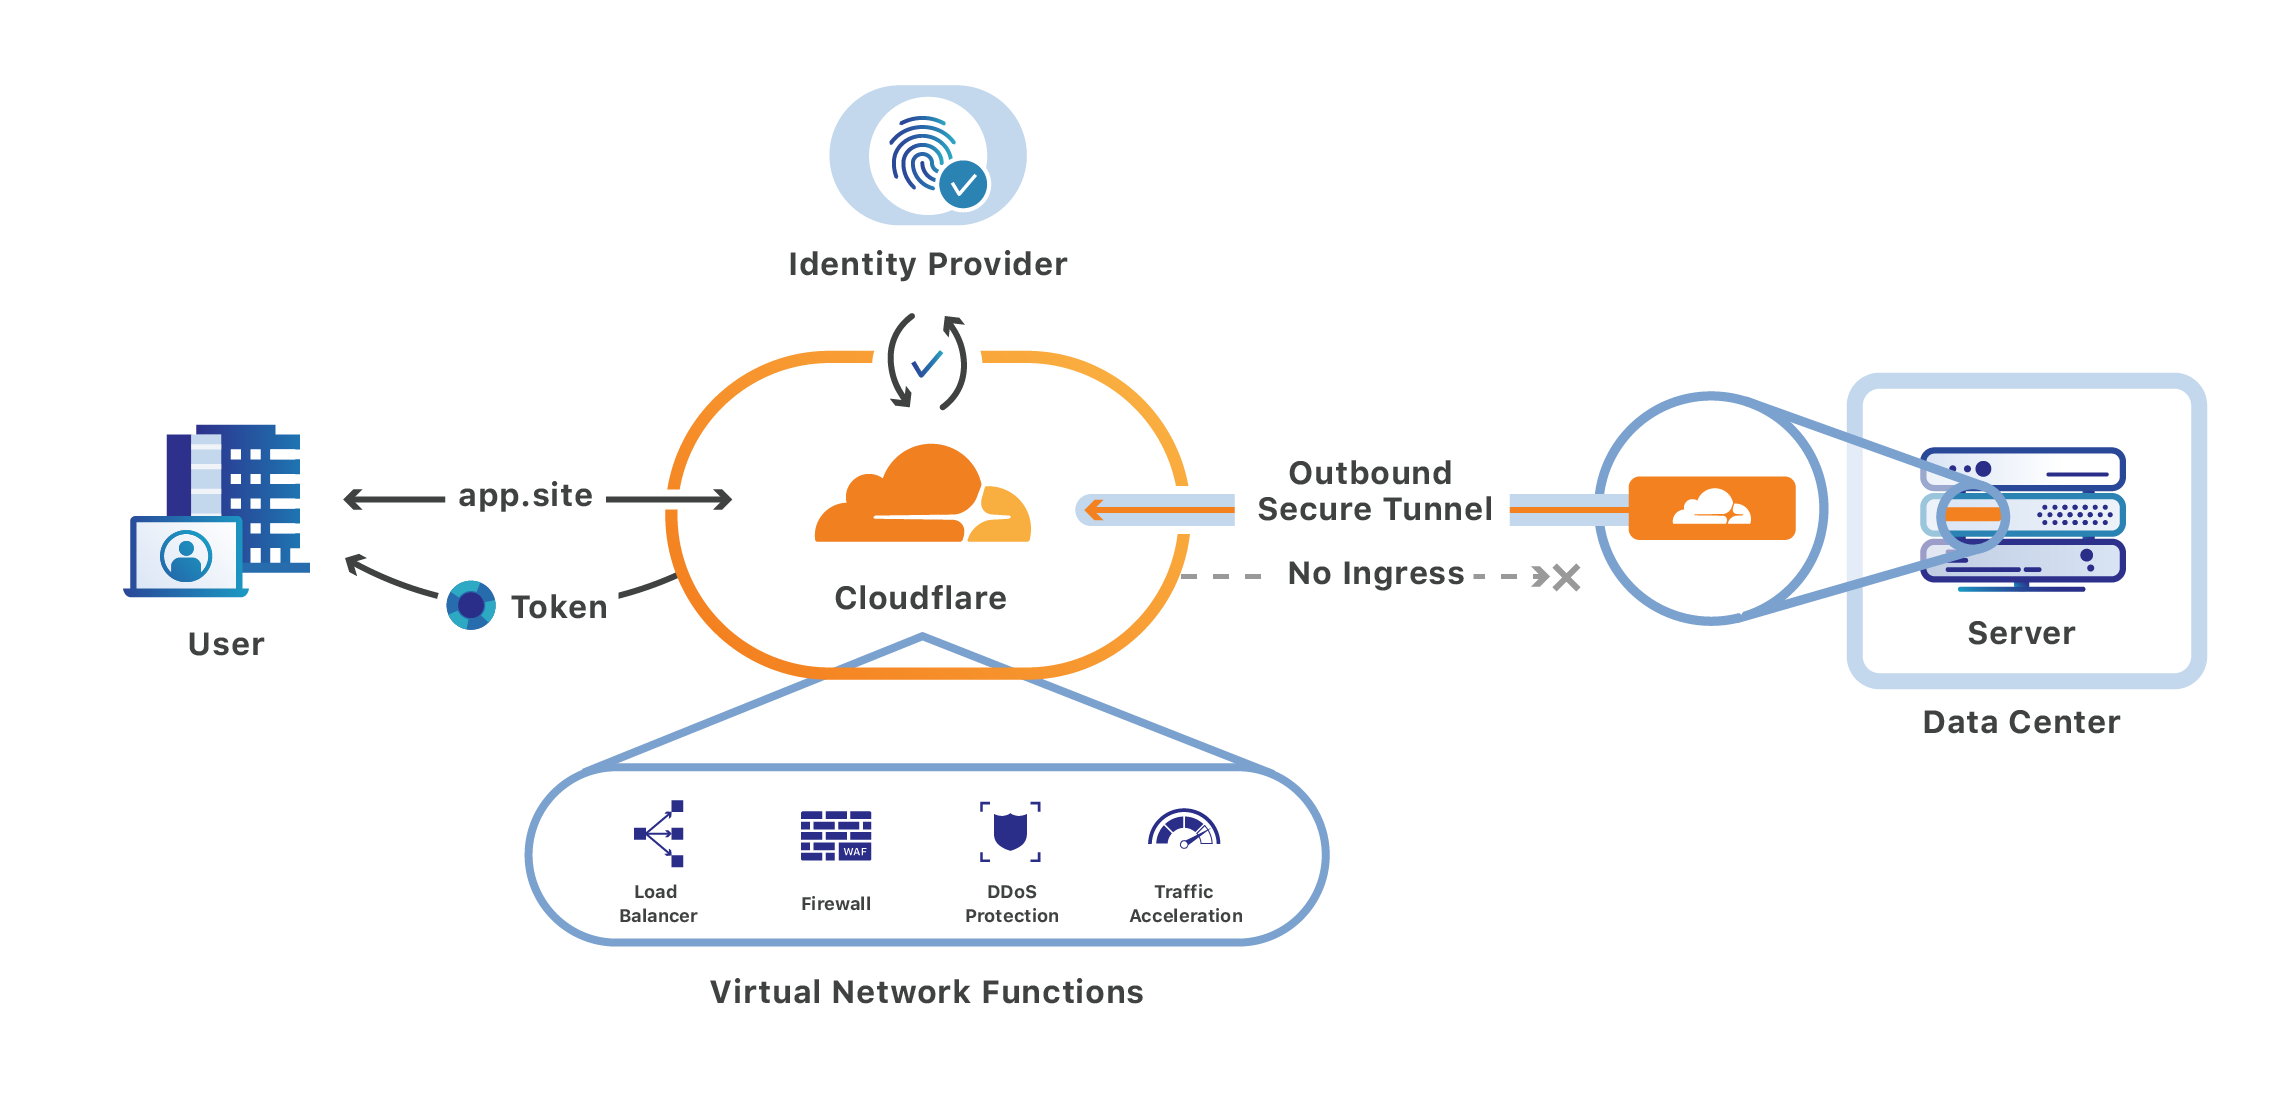
Cloudflare Access allows you to securely publish internal tools and applications to the Internet by providing an authentication layer between the end user and your origin. You can use signals from your existing identity providers (IdPs), device posture providers, and other rules to control who can access your application.
1. Add your application to Access
In Zero Trust, go to Access > Applications.
Select Add an application.
Select Self-hosted.
Enter any name for the application.
Choose a Session Duration. The session duration determines the minimum frequency for which a user will be prompted to authenticate with the configured IdP. If you want users to re-authenticate every time they reach your application, select No duration, expires immediately.
In Application domain, enter the domains that will represent the application.
- Domains must belong to an active zone in your Cloudflare account. You can either select a domain from the dropdown or enter a custom domain that you control.
- You can use wildcards to protect multiple parts of an application that share a root path.
(Optional) Configure App Launcher settings for the application.
Under Block pages, choose what end users will see when they are denied access to the application:
- Cloudflare default: Reload the login page and display a block message below the Cloudflare Access logo. The default message is
That account does not have access, or you can enter a custom message. - Redirect URL: Redirect to the specified website.
- Custom page template: Display a custom block page hosted in Zero Trust.
- Cloudflare default: Reload the login page and display a block message below the Cloudflare Access logo. The default message is
Next, configure how users will authenticate:
- Select the Identity providers you want to enable for your application.
- (Optional) Turn on Instant Auth if you selected only one IdP and want users to skip the identity provider selection step.
- (Optional) Under WARP authentication identity, allow users to authenticate to the application using their WARP session identity.
Select Next.
2. Add an Access policy
You can now configure an Access policy to control who can connect to your application.
Enter any name for your rule.
Specify a policy action.
Assign Access groups to reuse existing rules, or create new rules. You can add as many include, exception, or require statements as needed.
(Optional) Customize the login experience for users who match this policy:
Select Next.